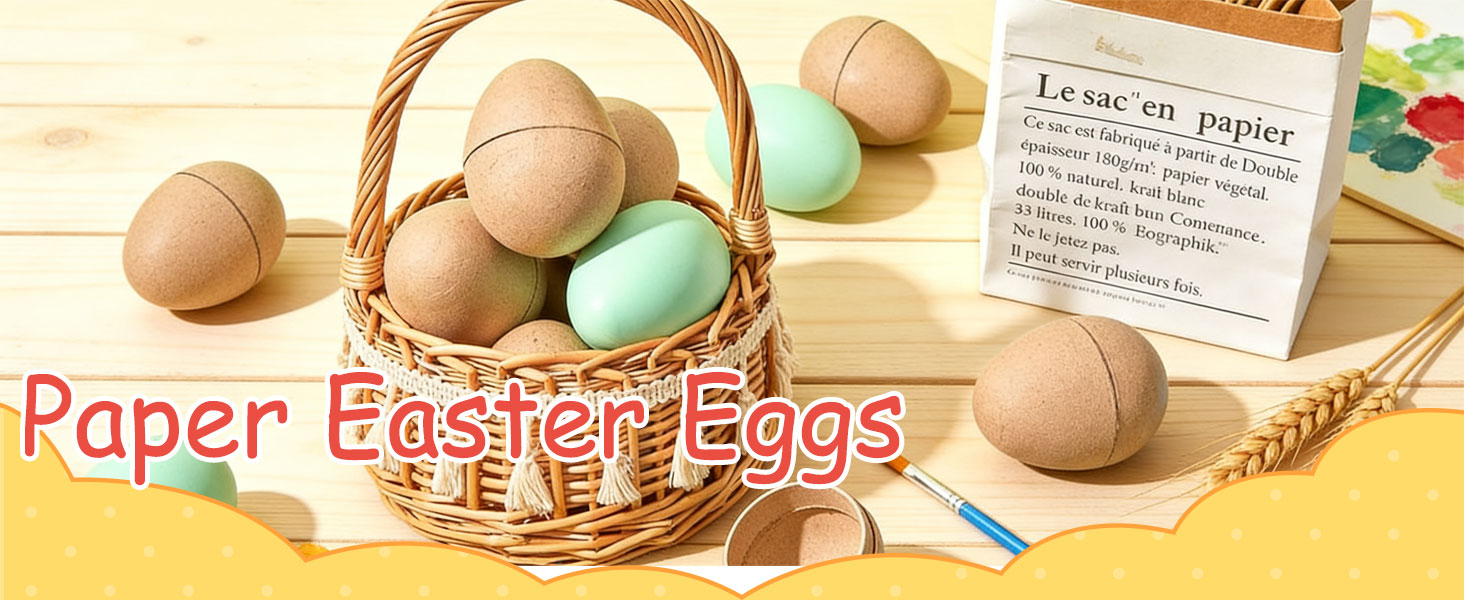
Paper Mache Eggs, Easter Eggs for Crafts, and Paintable Easter Eggs: A Complete Guide to Creative Spring Decorating
Spring crafting has a special kind of energy. The days are longer, the colors are brighter, and suddenly every table looks like it could use a bowl of handmade eggs. Among all the options, paper mache eggs stand out because they are lightweight, affordable, and wonderfully forgiving. They invite paint, glue, glitter, decoupage, and just about any embellishment you can imagine. If you have been searching for Easter eggs for crafts that feel more personal than plastic, or if you simply want a set of paintable Easter eggs ready for an afternoon of art, paper mache is a perfect answer.
Why Paper Mache Eggs Are a Crafter’s Favorite
Paper mache eggs are made from layers of paper and paste, which gives them a distinct advantage over many other craft eggs. They are sturdy enough to hold up to handling, but light enough to hang from a branch or place in a basket without weighing it down. Unlike real eggs, they do not need to be blown out, boiled, or handled with extreme care. Unlike many plastic eggs, they have a porous, paintable surface that accepts acrylics, tempera, and even some watercolors.
Another reason crafters love paper mache eggs is their flexibility. You can keep the natural kraft-brown surface for a rustic look, or you can prime them with gesso and turn them into tiny canvases. They work for elaborate folk-art designs, simple toddler-friendly stamping, and elegant metallic finishes. In other words, one batch of paper mache eggs can serve an entire family, a classroom, or a solo artist experimenting with new techniques.
The best craft eggs are not the ones that look perfect. They are the ones that make you want to pick up a brush again tomorrow.
Easter Eggs for Crafts: Choose the Right Base
Before you start painting, it helps to understand the different types of Easter eggs for crafts. Each base has its own personality, and the right choice depends on the project, the age of the crafter, and the finish you want.
- Hollow plastic eggs: Cheap, colorful, and great for fillers, but slippery. They usually need sanding or a primer before paint will stick.
- Wooden eggs: Smooth, durable, and excellent for detailed designs, though they are heavier and more expensive.
- Paper mache eggs: Lightweight, absorbent, and ideal for painting, decoupage, and mixed-media art.
- Ceramic or clay eggs: Beautiful and weighty, but fragile. They are best for display pieces rather than active crafting.
Paintable Easter Eggs: Surface, Primer, and Paint
When shopping for paintable Easter eggs, look at the surface first. A smooth paper mache egg may need only a light sanding before painting. A rougher egg may benefit from a coat of gesso or white acrylic primer. Primer does two things: it seals the paper so paint does not soak in unevenly, and it gives you a bright base that makes colors pop. If you want a natural, matte, vintage look, you can skip the primer and paint directly onto the brown surface. Just expect the colors to look slightly muted and earthy.
Best Paints and Finishes for Paintable Easter Eggs
- Acrylic paint: The most popular choice. It covers well, dries quickly, and comes in every color imaginable. Use matte, satin, or gloss depending on the look you want.
- Tempera paint: Great for kids because it is washable and inexpensive. It may need a sealant for long-term durability.
- Watercolor: Lovely for soft, translucent washes, especially on paper mache. It will not be opaque, so use it for a delicate, artistic effect.
- Metallic and pearl paints: Perfect for elegant eggs. Add them as accents, stripes, or full coverage for a shimmering basket display.
- Markers and paint pens: Excellent for fine details, tiny dots, names, and geometric patterns. Use them after the base paint is completely dry.
A Step-by-Step Paper Mache Egg Project
If you want to make your own paper mache eggs from scratch, the process is simple, though it does require patience. Here is a basic method that works for both children and adults.
- Gather materials: Flour, water, a bowl, newspaper or tissue paper, a balloon or egg-shaped form, and a drying rack.
- Prepare the paste: Mix one part flour with two parts water until smooth. Add a pinch of salt to discourage mold.
- Apply strips: Dip paper strips into the paste, wipe off the excess, and layer them over the form. Smooth each strip down.
- Dry and repeat: Let the first layer dry completely, then add two or three more layers for strength.
- Sand and prime: Once dry, sand lightly and apply gesso or primer if you plan to paint with light colors.
- Paint and seal: Decorate with acrylics, markers, or decoupage. Finish with a matte or gloss varnish to protect your work.
Design Ideas for Easter Eggs for Crafts
One of the joys of working with paper mache eggs is that they accept so many different styles. Here are a few ideas to spark your imagination.
- Botanical prints: Press small leaves or flowers onto the painted surface while it is slightly tacky, then peel away for a soft nature print.
- Geometric color blocking: Use painter’s tape to create crisp stripes, triangles, and chevrons in bright spring colors.
- Folk-art flowers: Paint simple roses, tulips, and leaves with a fine brush for a traditional Eastern European feel.
- Galaxy eggs: Blend deep blues, purples, and blacks, then splatter white paint for stars. Add a gloss finish for shine.
- Storybook scenes: Turn each egg into a tiny illustration with bunnies, chicks, or spring landscapes.
Tips for Clean Lines and Smooth Finishes
To get crisp lines, let each layer of paint dry completely before adding the next. Use painter’s tape for straight edges, and remove it while the paint is still slightly wet to avoid peeling. For smooth finishes, thin your acrylic paint with a tiny amount of water and apply two thin coats instead of one thick coat. Always seal your finished eggs with a clear varnish or Mod Podge. This protects the paint from chipping and makes the eggs easier to wipe clean.
Crafting with Kids: Simple Easter Eggs for Crafts
Paper mache eggs are wonderfully kid-friendly, especially if you choose pre-made paintable Easter eggs. Set up a washable tablecloth, offer tempera paint, chunky brushes, and stickers, and let the children explore. Avoid complicated instructions. Instead, encourage them to mix colors, make dots, and tell stories about their eggs.
- Use cotton swabs for polka dots.
- Wrap eggs with rubber bands before painting for resist stripes.
- Offer stickers, washi tape, and glitter glue for easy texture.
- Keep a damp cloth nearby for quick cleanups.
Display, Gift, and Store Your Paper Mache Creations
Once your eggs are dry and sealed, they can be displayed in many ways. Arrange them in a woven basket with shredded paper, hang them from a decorative branch, or place them in a shallow bowl as a spring centerpiece. Smaller eggs can be turned into place card holders, napkin rings, or garland beads. If you want to give them as gifts, nestle a single egg in a small box with tissue paper and a handwritten tag.
For storage, wrap each egg in tissue paper and place them in a sturdy box. Keep them away from direct sunlight and extreme heat, which can cause paint to fade or paper mache to warp. With a little care, your handmade eggs can return year after year, becoming part of your family’s Easter traditions.
Final Thoughts
Whether you are making paper mache eggs from scratch, buying Easter eggs for crafts, or searching for paintable Easter eggs that welcome every color in your paint box, the goal is the same: to create something joyful. Paper mache offers a rare combination of affordability, durability, and creative freedom. It invites beginners and experienced artists alike to slow down, layer by layer, and enjoy the process. This spring, let your table be covered with newspaper, paint cups, and imperfectly beautiful eggs. The results will be far more memorable than anything store-bought.
Comments are closed