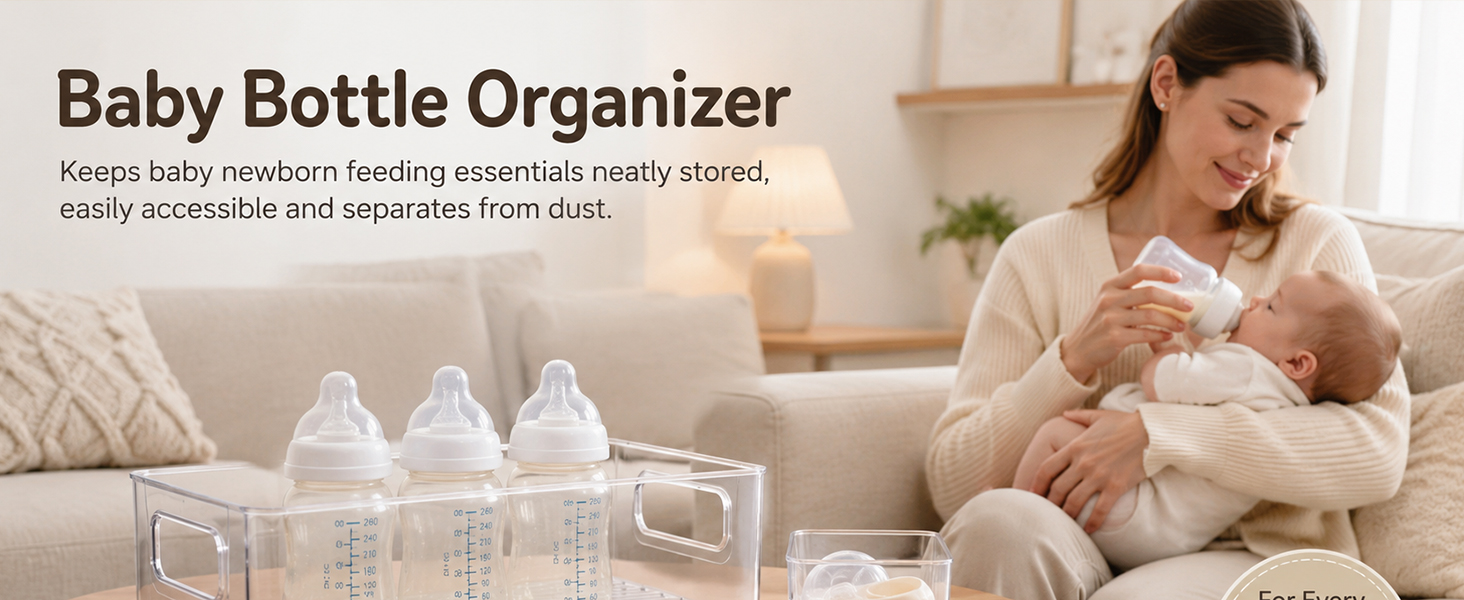
How to Create a Calm, Organized Bottle Station for Your Baby
If you have ever opened a kitchen cabinet and watched a cascade of nipples, rings, and half-matched bottles tumble out, you are not alone. Feeding a baby requires a surprising amount of equipment, and without a system, that equipment quickly takes over the counter, the sink, and your patience. The good news is that a little planning can turn chaos into a smooth, repeatable routine. The best Baby products are not simply cute; they help you respond faster, clean smarter, and keep your home feeling less like a storage unit and more like a nursery.
Why Bottle Clutter Builds Up So Quickly
Bottle clutter rarely comes from one bad habit. It comes from many small moments: a midnight feeding, a rushed morning, a dishwasher load that never gets fully unloaded, or a growth spurt that suddenly changes how much your baby drinks. Before you know it, clean bottles are mixed with dirty ones, spare nipples are hiding in a drawer, and the counter has become a permanent drying rack.
The real problem is not the number of items. It is the lack of a clear home for each item. When every bottle, cap, ring, and brush has a designated spot, you spend less time hunting and more time enjoying your baby.
- Too many open loops: Unfinished washing, drying, and putting away create visual noise.
- No “ready” zone: If prepared bottles are not obvious, you may scramble when hunger hits.
- Mixed sizes: Newborn nipples, older-baby nipples, and different bottle brands can crowd one another.
- Travel overflow: Diaper bags, daycare bags, and grandparents’ houses collect stray parts.
What the Right Organizer Changes
A Baby bottle organizer is more than a plastic bin. It creates a logical home for every part, so your feeding routine has a beginning, middle, and end. Instead of treating bottle care as one giant chore, you break it into small steps: wash, dry, assemble, store, and grab.
When bottles have a dedicated place, several things happen at once. You notice sooner when supplies are running low. You stop buying duplicates because you cannot find what you already own. You also make it easier for partners, grandparents, and babysitters to help without asking where everything goes.
Simple rule: If a tired parent cannot find it, wash it, or put it away with one hand, the system is too complicated.
Three Quick Wins You Will Notice in a Week
- Faster prep: A filled, visible station means you can grab a bottle and go.
- Less counter chaos: Drying and storage stay in one zone instead of spreading everywhere.
- Calmer cleanup: Emptying the dishwasher becomes a two-minute task, not a puzzle.
How to Choose the Right Storage for Your Space
Every kitchen and nursery has a different footprint. Some parents have a deep drawer; others have only a narrow cabinet or a small counter corner. The goal is not to copy someone else’s perfect setup. The goal is to choose Baby bottle storage that fits where you actually feed, wash, and pack for the day.
| Space You Have | Best Approach | Why It Works |
|---|---|---|
| Deep kitchen drawer | Adjustable dividers or a shallow tray | Keeps parts upright and visible when the drawer opens. |
| Small counter corner | Vertical drying rack with a storage basket | Uses height instead of width and keeps bottles airy. |
| Cabinet shelf | Stackable bins with labels | Separates clean, ready-to-use pieces from spares. |
| Diaper bag or travel bag | Insulated pouch plus a small wet/dry bag | Prevents leaks and keeps clean parts away from used ones. |
Measure first, then buy. A beautiful organizer that does not fit your drawer will only become another item to move around. Check height, width, and whether the lid or handle can open fully.
Building a Bottle Station Step by Step
You do not need a nursery makeover to create a better system. Start with one zone and make it work for your real life.
- Clear everything out. Remove all bottles, nipples, caps, and brushes from the area. Wipe the surface or drawer.
- Sort by stage and size. Keep only what your baby currently uses. Store outgrown pieces separately.
- Assign zones. Create a “dirty” zone near the sink, a “drying” zone, and a “ready” zone for assembled bottles.
- Label if needed. Labels help partners and caregivers follow the system without guesswork.
- Test for one week. Adjust anything that feels awkward. The best routine is the one you will actually repeat.
If your space is tiny, think vertically. A narrow organizer beside the sink can hold brushes and soap, while a small basket above it can hold clean lids. If your space is larger, use the extra room for backstock, but keep daily-use items in front.
Cleaning and Rotation Habits That Keep Everything Fresh
Organization only works when it supports hygiene. Bottle parts should be cleaned according to the manufacturer’s instructions, and any system you choose should make drying easy. Trapped moisture is the enemy of a fresh-smelling cabinet.
- Rinse immediately: A quick rinse after feeding prevents milk residue from hardening.
- Wash in batches: Use a dedicated basin or dishwasher basket so small parts do not disappear.
- Dry fully: Air-dry parts separately before assembling them.
- Rotate stock: Use older clean bottles first and move newer ones to the back.
- Check wear: Replace nipples, valves, and cracked parts as recommended.
Do not forget the “outgrown” box. Every few weeks, remove bottles and nipples your baby no longer uses. Passing them along, storing them for a future sibling, or repurposing them keeps your daily station lean.
Final Thoughts
A calm feeding routine does not require a huge budget or a perfectly styled nursery. It requires a clear place for the things you use every day. Start with one drawer, one basket, or one counter corner. Let the system be simple enough for a sleepy parent to follow at 3 a.m. and flexible enough to grow with your baby. When bottles have a home, your whole day feels lighter.
Comments are closed